SwiftUI + Combine을 이용하여 Fleek Copy app 만들기(2)
이전 포스트에서 말한대로 오늘은 Intro화면을 작성해보려고 합니다.
coredata를 사용하기 위해 coredata를 포함한 프로젝트를 생성하였으나, 지금 당장은 필요하지 않으므로 coredata의 내용을 삭제해 주겠습니다.
- Before
import SwiftUI
import CoreData

struct ContentView: View {
    @Environment(\.managedObjectContext) private var viewContext

    @FetchRequest(
        sortDescriptors: [NSSortDescriptor(keyPath: \Item.timestamp, ascending: true)],
        animation: .default)
    private var items: FetchedResults<Item>

    var body: some View {
        NavigationView {
            List {
                ForEach(items) { item in
                    NavigationLink {
                        Text("Item at \(item.timestamp!, formatter: itemFormatter)")
                    } label: {
                        Text(item.timestamp!, formatter: itemFormatter)
                    }
                }
                .onDelete(perform: deleteItems)
            }
            .toolbar {
#if os(iOS)
                ToolbarItem(placement: .navigationBarTrailing) {
                    EditButton()
                }
#endif
                ToolbarItem {
                    Button(action: addItem) {
                        Label("Add Item", systemImage: "plus")
                    }
                }
            }
            Text("Select an item")
        }
    }

    private func addItem() {
        withAnimation {
            let newItem = Item(context: viewContext)
            newItem.timestamp = Date()

            do {
                try viewContext.save()
            } catch {
                // Replace this implementation with code to handle the error appropriately.
                // fatalError() causes the application to generate a crash log and terminate. You should not use this function in a shipping application, although it may be useful during development.
                let nsError = error as NSError
                fatalError("Unresolved error \(nsError), \(nsError.userInfo)")
            }
        }
    }

    private func deleteItems(offsets: IndexSet) {
        withAnimation {
            offsets.map { items[$0] }.forEach(viewContext.delete)

            do {
                try viewContext.save()
            } catch {
                // Replace this implementation with code to handle the error appropriately.
                // fatalError() causes the application to generate a crash log and terminate. You should not use this function in a shipping application, although it may be useful during development.
                let nsError = error as NSError
                fatalError("Unresolved error \(nsError), \(nsError.userInfo)")
            }
        }
    }
}

private let itemFormatter: DateFormatter = {
    let formatter = DateFormatter()
    formatter.dateStyle = .short
    formatter.timeStyle = .medium
    return formatter
}()

struct ContentView_Previews: PreviewProvider {
    static var previews: some View {
        ContentView().environment(\.managedObjectContext, PersistenceController.preview.container.viewContext)
    }
}
- After
import SwiftUI

struct ContentView: View {
    var body: some View {
        Text("Hello world!")
    }
}

struct ContentView_Previews: PreviewProvider {
    static var previews: some View {
        ContentView()
    }
}
필요한 내용만 채워두고 Run 해보면 아래와 같은 결과물을 볼 수 있습니다.

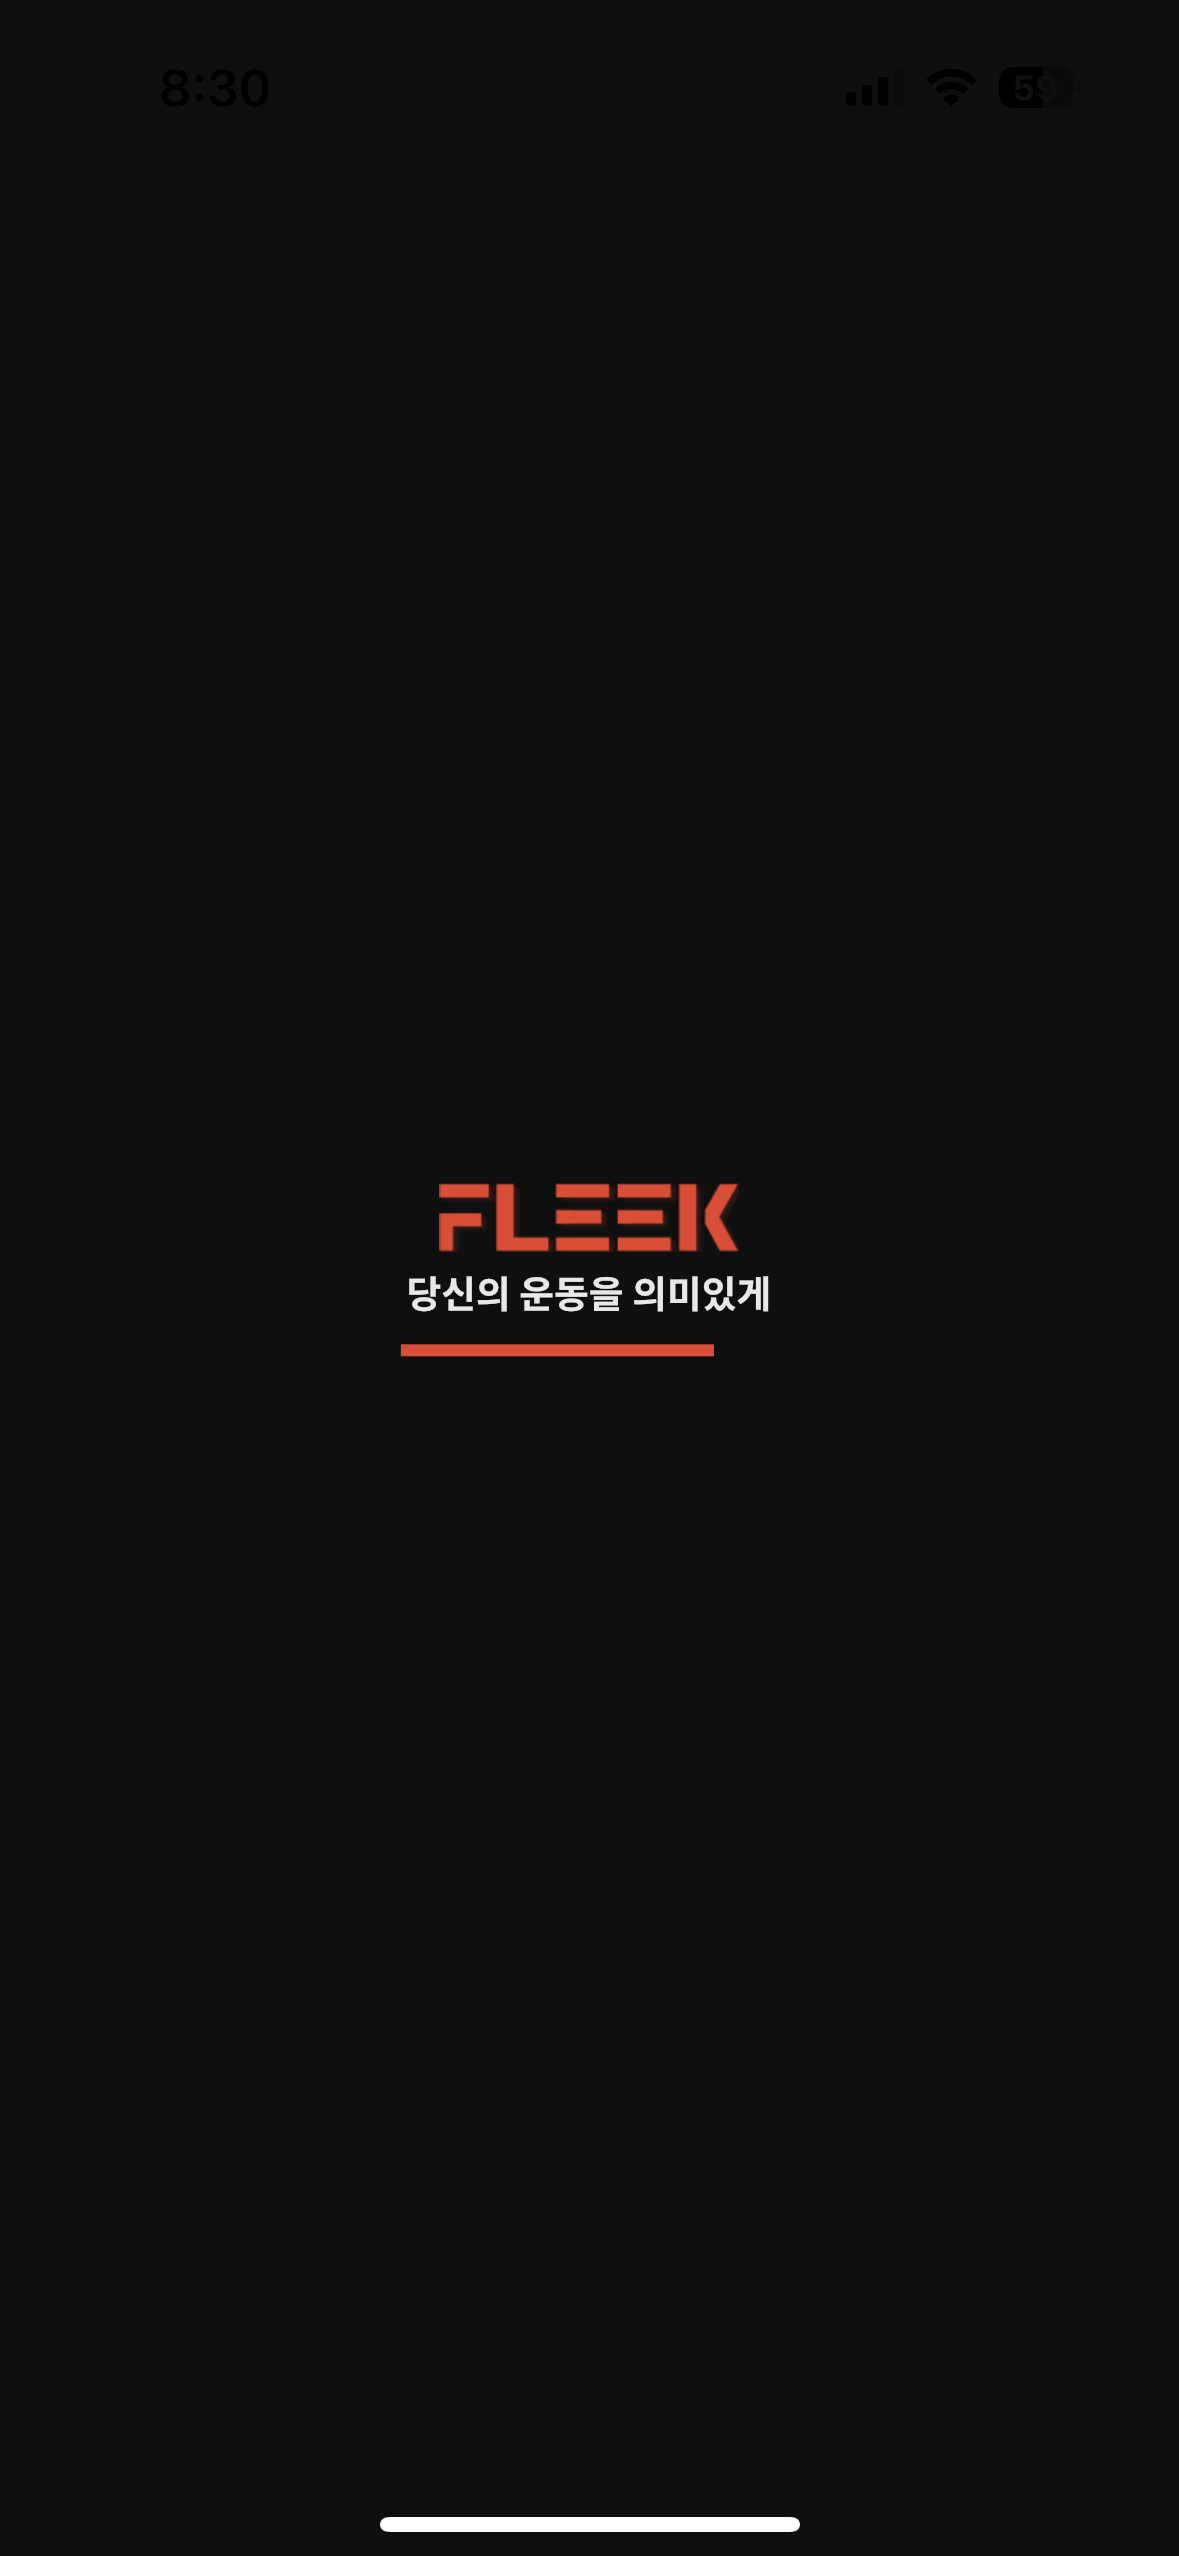
제가 만들어야 할 Fleek의 Intro화면은 아래와 같습니다.

- Fleek 로고가 위치해있고
- 아래 Text가 있으며,
- 바로 아래는 Loading Bar가 있습니다.
- Background는 Black 색상을 가지고 있습니다.
위 View를 코드로 나타내보겠습니다.
import SwiftUI

struct ContentView: View  {
    let workoutDateRange = Date()...Date().addingTimeInterval(3)
    var body: some View {
        GeometryReader { geo  in
            VStack {
                Text("FLEEK")
                    .foregroundColor(.red)
                    .fontWeight(.heavy)
                    .font(.largeTitle)
                Text("당신의 운동을 의미있게!")
                    .foregroundColor(.white)
                ProgressView(timerInterval: workoutDateRange, countsDown: false)
                    .tint(.red)
                    .frame(width: 160)
            }
            .frame(minWidth: geo.size.width, maxWidth: .infinity, maxHeight: .infinity)
            .background(.black)
        }
    }
}

struct ContentView_Previews: PreviewProvider {
    static var previews: some View {
        ContentView()
    }
}
위 코드를 실행한 결과는 아래와 같습니다.
로고까지 동일하게 맞추지는 않겠습니다.
코드에서 사용된 컴포넌트들에 대한 간략한 설명을 해보도록 하겠습니다.
GeometryReader
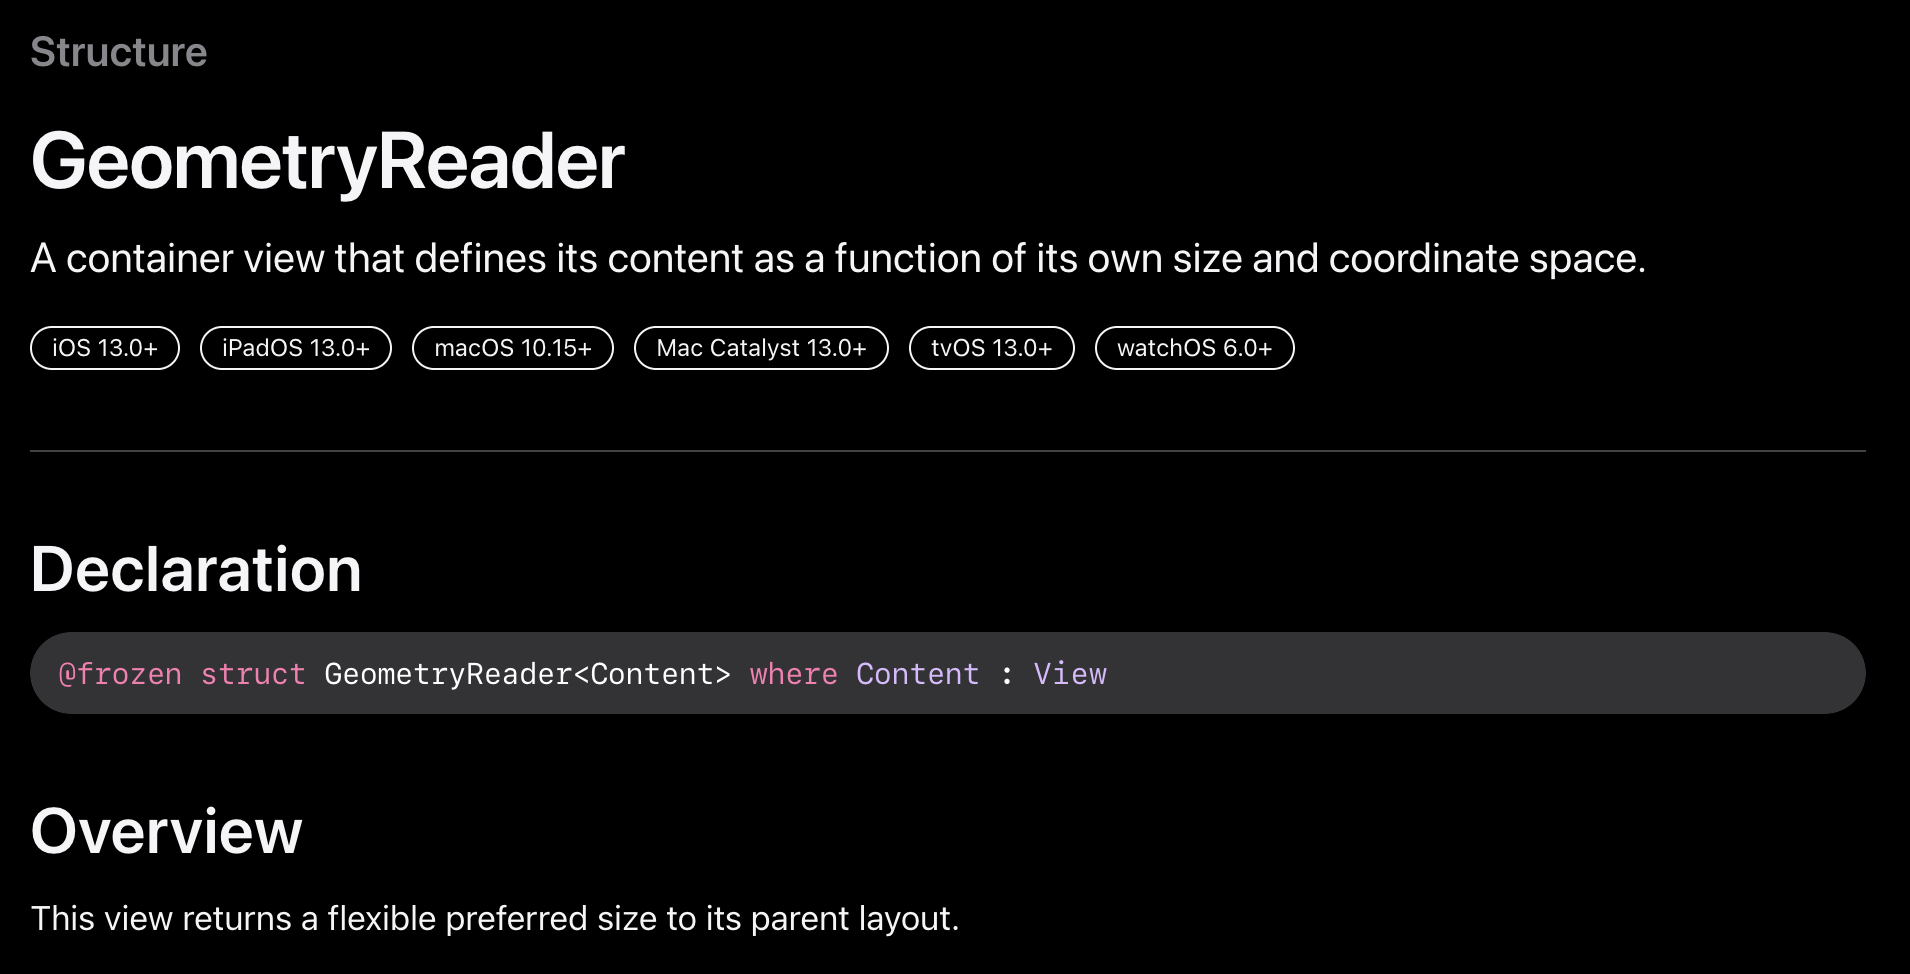
- 공식문서에서 설명하는 것 처럼 “Contents 의 사이즈와 위치를 자체 크기의 좌표 및 공간으로 나타내는 컨테이너 뷰” 입니다.
- 해당 메소드를 최상단으로 감싸준 이유는, 디바이스의 크기를 GeometryProxy를 통해 얻어와 꽉찬 화면을 띄워주기 위함입니다.
@frozen public struct GeometryReader<Content> : View where Content : View { public var content: (GeometryProxy) -> Content @inlinable public init(@ViewBuilder content: @escaping (GeometryProxy) -> Content) /// The type of view representing the body of this view. /// /// When you create a custom view, Swift infers this type from your /// implementation of the required ``View/body-swift.property`` property. public typealias Body = Never }- 코드를 보면 GeomertyProxy를 @escaping closure를 통해 전달해 주는 것을 볼 수 있습니다.
Geomerty Proxy에는 과연 무슨 정보가 있을까요?
public struct GeometryProxy { /// The size of the container view. public var size: CGSize { get } /// Resolves the value of `anchor` to the container view. public subscript<T>(anchor: Anchor<T>) -> T { get } /// The safe area inset of the container view. public var safeAreaInsets: EdgeInsets { get } /// Returns the container view's bounds rectangle, converted to a defined /// coordinate space. public func frame(in coordinateSpace: CoordinateSpace) -> CGRect }- containerView의 size , layout anchor, safeAreaInsets, frame 등 좌표계와 크기에 관한 정보가 담겨있는 것을 확인할 수 있습니다.
- 따라서 최상단을 GeometryReader로 감싸고, Geomerty Proxy를 통해 각 Component들의 frame을 정해주기 위해 사용하였습니다.
   GeometryReader { geo in
              ...
              }
  			//여기서 geo(GeometryProxy)의 정보를 가지고 frame을 잡아주고 있습니다.
              .frame(minWidth: geo.size.width, maxWidth: .infinity, maxHeight: .infinity)

          }
- VStack
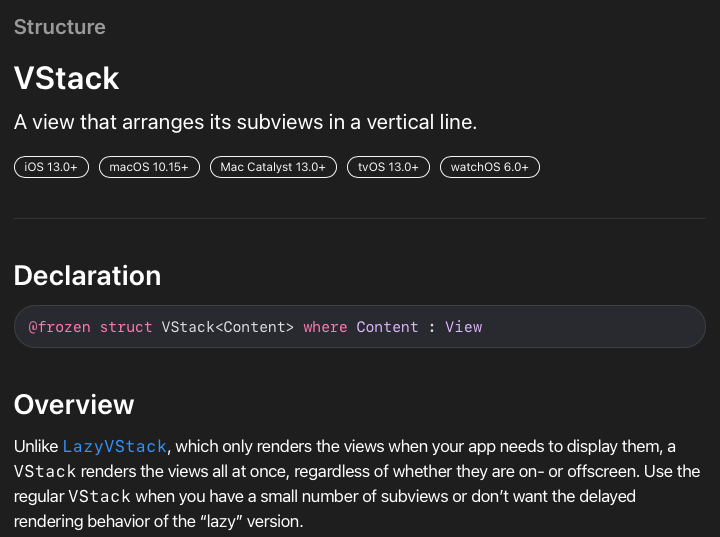
- vertical line(수직)으로 subview들을 정렬해주는 뷰입니다.
- Text
Text는 말그대로 text(문자열)을 나타내주는 view입니다.

- 코드로 살펴보면 “FLEEK”, “당신의 운동을 의미있게!” 2가지의 문자열을 노출해주는 것을 알 수 있습니다.
- “FLEEK” Text의 속성은 글자색 (빨강), 폰트는 두껍게, 폰트크기는 largeTitle로 정해주었습니다.
- “당신의 운동을 의미있게!” Text 속성은 글자색만 흰색으로 정해주었습니다.
VStack아래에 2개의 Text를 순서대로 노출한 결과, VStack의 설명대로 수직으로 정렬해서 보여주는 것을 알 수 있습니다.
- ProgressView
로딩바 혹은 다운로드 진행 등, 진행상황에 대한 진행도를 표시하는 뷰입니다.
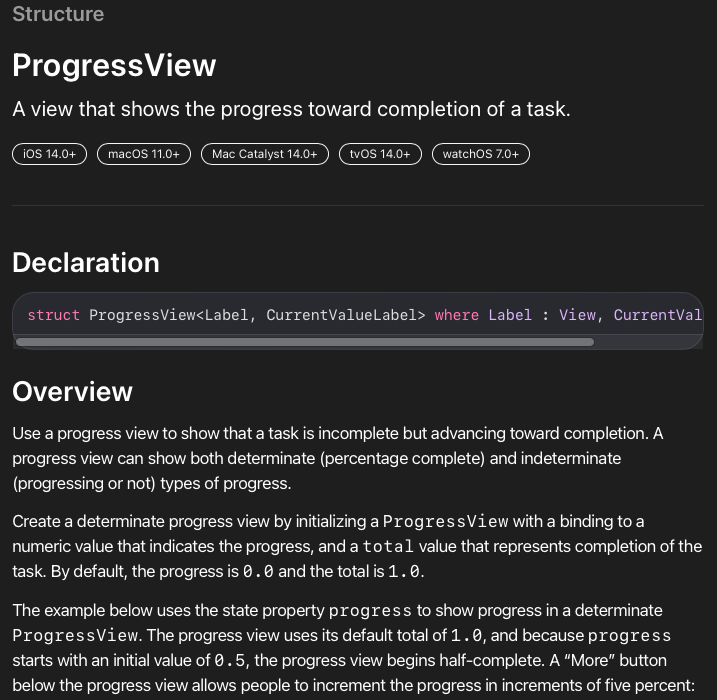
- 코드에서는 timerInterval을 줘서 해당 초만큼 progress가 진행되도록 적용하였습니다.
- 현재시간에서 3초 후까지의 timerInterval을 적용하여 3초동안 Progress가 진행되도록 하였습니다.
- progressView에서는 tintColor를 변경해야 진행되는 progressBar의 value가 해당 색상으로 표시됩니다.(.red)
VStack의 frame을 기기 size로 조절해주었고, 백그라운드는 black으로 정해주었습니다.
위 코드를 적용하여 실행하면 다음과 같은 결과가 나옵니다.
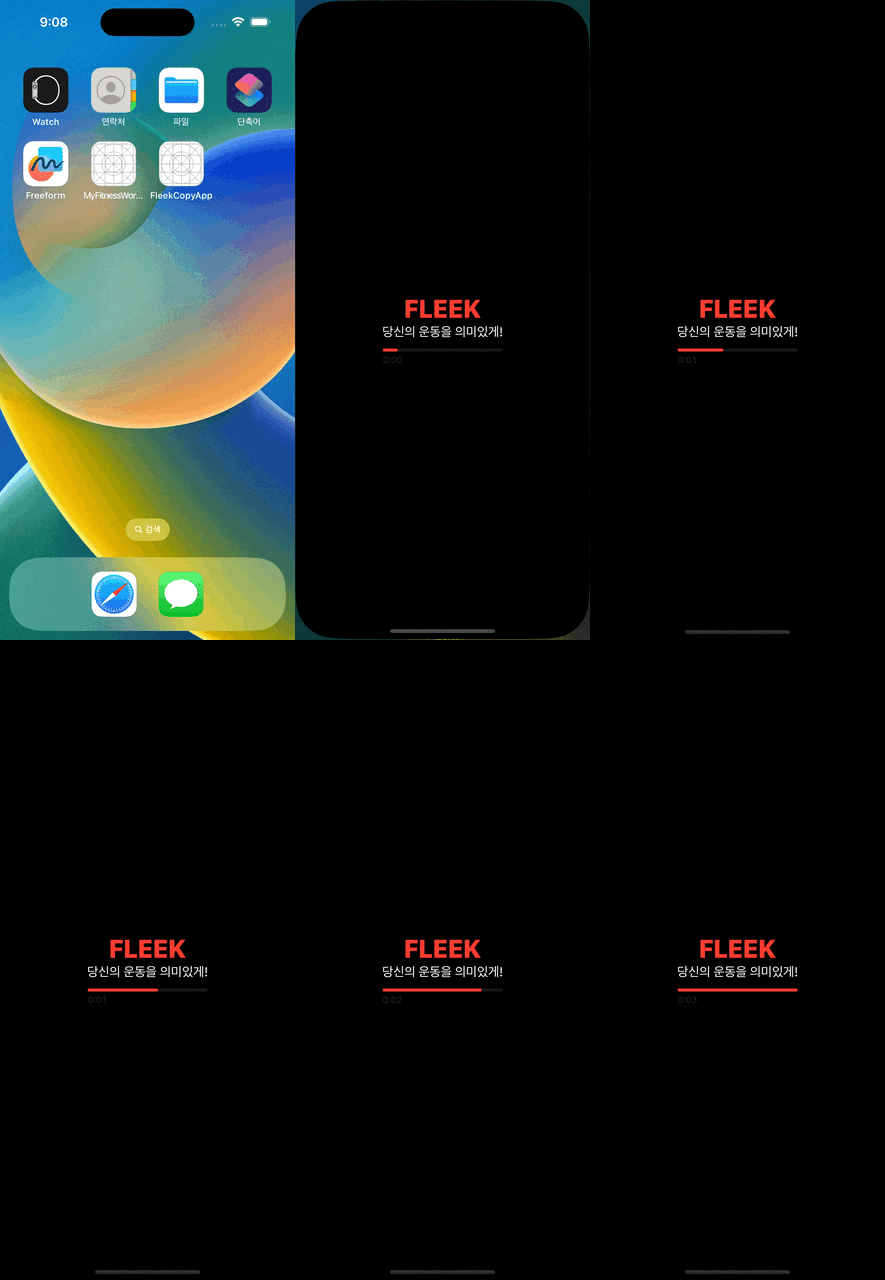
이렇게 해서 간단하게 Intro화면을 만들어보았습니다.
위 영상에서 한가지 흠이 있는데요.
최초 실행 시 흰색 화면 → 검정화면 인트로로 변경되는 것이 조금은 신경쓰입니다.
해당 현상을 수정하기 전에 이전 글을 잠시 링크하도록 하겠습니다. SwiftUI LaunchScreen
- 해당 글 하단에 보면 Info.plist에서 LaunchScreen에 대한 내용이 나옵니다.
- LaunchScreen에 대한 키를 만들어두고 BackgroundColor를 black으로 적용해보겠습니다.

Asset에 이미지 셋을 추가하여 LaunchColor로 이름을 정해주었고, black 색상으로 설정해주었습니다.

그 후, Info탭으로 가서 해당 Property를 생성하고 BackgroundColor를 LaunchColor로 설정합니다.
다시한번 실행해 보겠습니다.
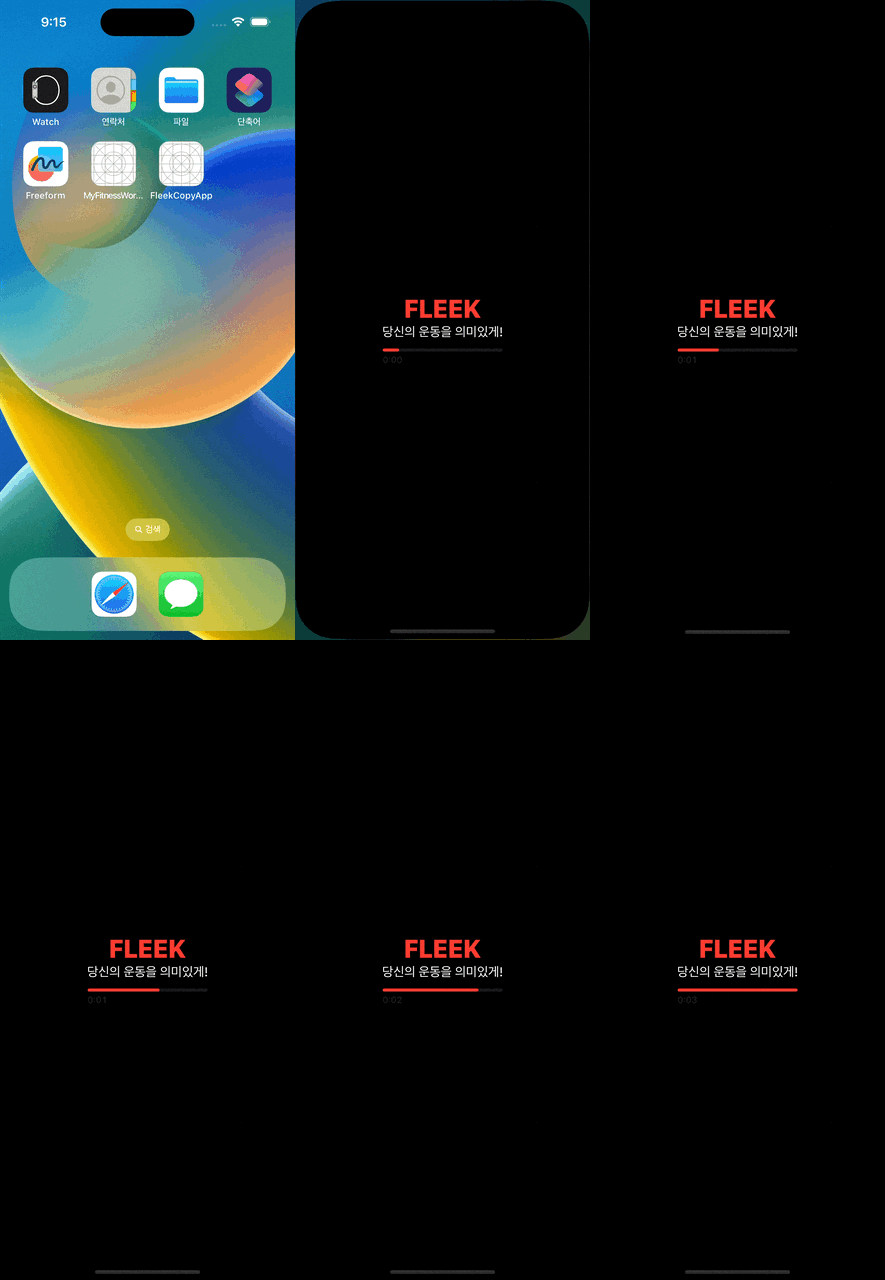
원하던 대로 검정화면이 노출되고 이후 IntroView가 노출되어 어색하지 않은 모습을 보여줍니다.
다음 글에서는 Intro 진입 후 만나게 되는 메인화면을 만들어 보도록 하겠습니다.
감사합니다.
